Angel food cake is one of my favorite things to bake gluten free! One of the biggest complaints about gluten free baking is that the product is too heavy; angel food solves that with the whipped egg whites,
adding air and height and rising as beautifully as a full-gluten cake. Not to mention that it is naturally dairy free and absolutely delicious! This is the quintessential summer dessert and you can make it so many different ways!
This recipe comes from the
King Arthur Flour website. I would recommend preparing it a day ahead if you can so everything chills properly; the angel food cake requires a minimum of 2 hours of cooling time and coconut cream always holds together better when it has had time to chill. If you're going to create all of the components today, go right now and stick a metal or glass bowl in your freezer for the cream and put the cans of coconut milk in the fridge. Also read all of the instructions first, I missed the note about having to sift the flour with the sugar and cornstarch and had to do it on the fly.
Lemon Berry Angel Food Layer Cake GF DF SF
King Arthur Angel Food Cake
- 3/4 cup King Arthur Gluten-Free Multi-Purpose Flour or ¾ cup + 2 tablespoons brown rice flour blend*
- 3/4 cup Baker's Special Sugar** or superfine sugar
- 1/4 cup cornstarch
- 1 1/2 cups egg whites (10 to 11 large eggs, separated, yolks discarded or reserved for another use)
- 1/4 teaspoon salt
- 1 ½ teaspoons cream of tartar
- 2 teaspoons vanilla extract
- 1/4 teaspoon almond extract or Fiori di Sicilia, optional
- 3/4 cup + 2 tablespoons Baker's Special Sugar** or superfine sugar
- **Can you substitute regular granulated sugar? Yes; it'll take much longer for the egg whites to attain their require volume, and the cake's texture won't be as fine.
Instructions
- Preheat the oven to 350°F and place the oven rack in its lowest position.
- Whisk together and then sift the flour, cornstarch, and 3/4 cup sugar. Set aside.
- In a large, clean (grease-free) mixing bowl, beat together the egg whites, salt, and cream of tartar until foamy.
- Add the flavorings. Gradually increase the speed of the mixer and continue beating until the egg whites have increased in volume, and thickened.
- Gradually beat in the 3/4 cup + 2 tablespoons sugar, a bit at a time, until the meringue holds soft peaks.
- Gently fold in the sifted flour/sugar blend ¼ cup at a time, just until incorporated.
- Spoon the batter into an ungreased 10" round angel food pan. Gently tap the pan on the counter to settle the batter and remove any large air bubbles.
- Bake the cake until it's a deep golden brown, and the top springs back when pressed lightly, about 45 minutes.
- Remove the cake from the oven and invert the pan onto the neck of a heatproof bottle or funnel, to suspend the cake upside down as it sets and cools, about 2 hours.
- Remove the cake from the pan by running a thin spatula or knife around the edges of the pan, and turning the cake out onto a plate.
- Cut the cake with a serrated knife or angel food cake comb. If it's difficult to cut, wet the knife and wipe it clean between slices.
- Serve with whipped cream and fruit. Wrap any leftovers airtight, and store at room temperature.
- Yield: one 10" cake, about 12 to 16 servings.
- *Make your own blend
Many of our gluten-free recipes use our King Arthur Gluten-Free Multi-Purpose Flour, which includes ingredients that reduce the grittiness sometimes found in gluten-free baked goods. Our flour also increases the shelf life of your treats, keeping them fresh longer.
The following make-at-home blend, featuring stabilized brown rice flour, works pretty well when substituted; and it tastes better than a blend using regular brown rice flour.
Whisk together 6 cups (28 1/2 ounces) King Arthur stabilized brown rice flour; 2 cups (10 3/4 ounces) potato starch; and 1 cup (4 ounces) tapioca flour or tapioca starch. Store airtight at room temperature. - Note: You can substitute white rice flour for the brown rice flour if you like; it'll make your baked goods grittier (unless you manage to find a finely ground version).
Additional Ingredients:
12 oz. raspberry jam
Fruit of choice
1 package organic blueberries
1 package organic raspberries
4 cans of full fat coconut milk (I like Thai Kitchen Organic)
1/4 cup of sugar
6 teaspoons lemon extract
This is not a paid advertisement, simply a celebration because I have always been a huge fan of King Arthur products. I also happen to feel that trying to combine
8 different kinds of gluten free flours to get the right consistency is a pain, so any opportunity to use a great blend is highly cherished!
I substituted the 2 tsp vanilla extract and 1/4 tsp almond for 1 tsp vanillaand 1 1/4 tsp lemon extract to give this a bright flavor.
Like many of you, I'm a home cook with limited space, so I don't just keep superfine sugar in my
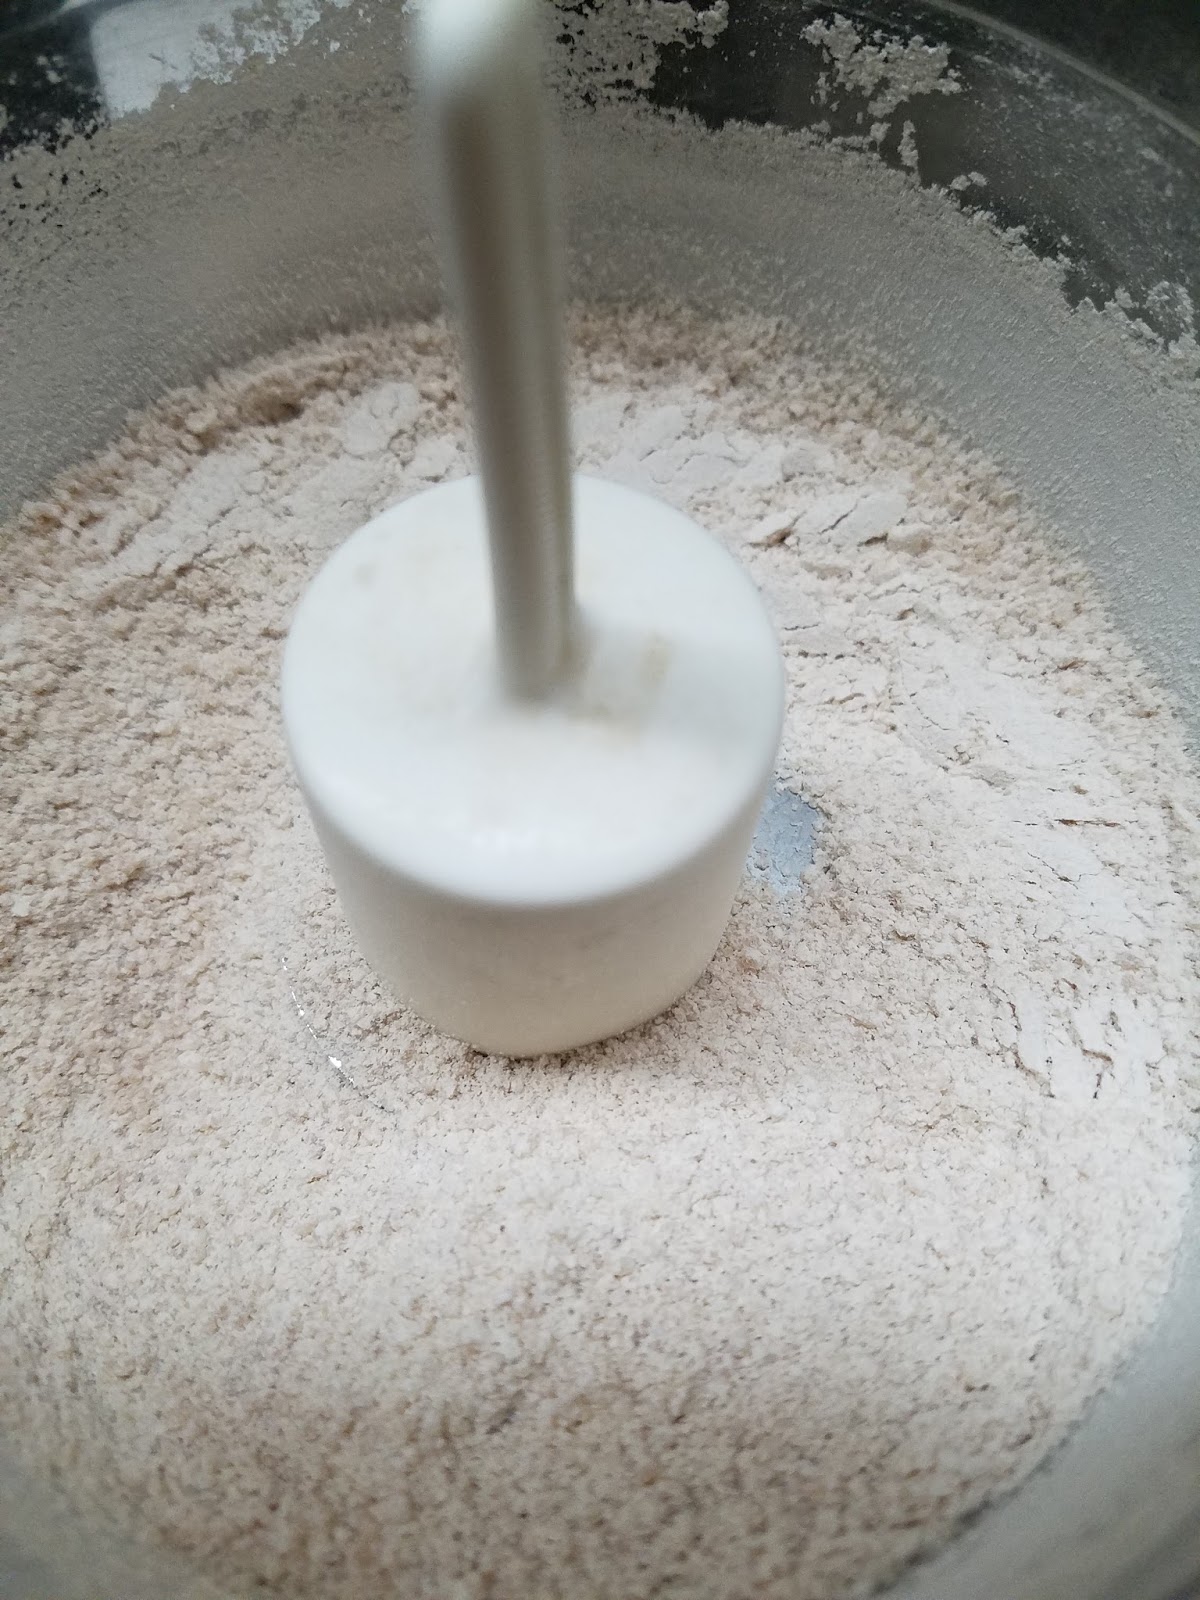
cabinet, and I wasn't about to go buy some just for this recipe. The solution? Throwing cane sugar
in the food processor!
I recommend processing it in small amounts to make sure
it grinds evenly and when you go to sift the ingredients
together, this doesn't happen.
 |
When it is ground properly and sifted, it will be lovely
and fine, and actually resemble cake flour
like this.
|
 |
It will be very tempting to stop beating the egg whites
at this point, keep going a little bit longer!
|
This is as close as I have ever been able to get to perfect "soft peaks" in a meringue
I panicked a bit when it said to suspend the cake upside down on a funnel; exactly which way
is upside down for an angel food cake? So I settled for placing it on a wire rack and extending
the cooling time a bit. See how it rises so beautifully? You would never know it's gluten free!
Since I had time, this project got separated into a 2-day process in my kitchen, but you can
and easy if you chilled the bowl ahead of time). For this cake, I omitted the usual vanilla
and cinnamon and instead added 4 teaspoons of lemon extract. I multiplied my usual recipe
by 4 because of the size of the cake, so you may only need 1-2, just taste it as you go and
adjust accordingly.
 |
| Whipped Coconut Cream is a staple in my house because it is quick, easy, and decadent! |
Knowing this dessert could spend some time sitting out, I opted for layering in a trifle dish.
Coconut cream melts just like standard whipped cream, so you can't leave it out for long.
If you cut the cake into fewer layers (2-3) and can freeze the construction before serving, you
may be able to make a layer cake like
this one. For this cake, cut the cooled angel food into 4-5
sections horizontally. Place the first piece of cake on the bottom of the dish, then layer in coconut
cream, jam, and berries, followed by the next layer of cake.
Get creative with the decoration on top!


 |
| Happy Birthday Dr. Holstein! |

Hope you enjoy this as much as we did!
Bon Appetit,
Dr. Chelsea
Post note: I made another variety for Laure's birthday too! She doesn't do well with gum additives like guar gum that are in coconut milk, so I improvised a little on the cream. Yes, I have tried using the gum-free coconut milk, no it does not set up properly. However, I found that the So Delicious coconut milk "yogurt" is gum free!
Instead of using raspberry jam and my coconut cream, I used lemon curd (I LOVE Stonewall Kitchen) and what I can only in good consciousness refer to as blueberry "cream" sauce (see below). In addition, I used 2 Tablespoons of lemon extract with 1/4 Tablespoon of almond extract.
Blueberry "Cream" Sauce (recipe in progress)
Ingredients:
4 cups blueberries
1 large banana
1 cup unsweet coconut milk "yogurt"
1 cup coconut palm sugar (or regular sugar or honey)
6 drops lemon essential oil or 2 Tablespoons of lemon juice (to taste)
2 cups Kerry Gold butter or dairy-free butter
Instructions:
1. Add all sauce ingredients to blender.
2. Puree until smooth.
3. Alternate layers of angel food cake with lemon curd, blueberries, and blueberry sauce.
4. Garnish with berries and lemon slices.
5. Enjoy immediately or refrigerate until serving.
If I was going to do this again, I would simmer the berries first and skim off the skins to improve the texture of the sauce. You could also easily skip the banana and/or butter and use more "yogurt", or if you're fine with gums go ahead and blend the berries into my coconut cream. Let me know if you create a variation you like!

 The big cake box companies are starting to make gluten free box mixes which can satisfy the need for a quick, inexpensive dessert fix. I wouldn't recommend using them often, but they can help in times of need. For Makena's birthday, we were serving a large, mixed crowd, so Laure and I decided to make two of the cakes from a gluten free box mix...