Showing posts with label gluten free. Show all posts

Monday, August 15, 2016

Neverending Pancakes GF DF

My friends, if you learn nothing else from this blog, I hope I can teach you to ALWAYS READ ALL OF THE INSTRUCTIONS BEFORE STARTING A RECIPE!


Breakfast is by far my favorite meal of the day and the most fun to cook! I'm all about making pancakes from scratch, and I have several recipes I use which are completely Paleo and also delicious!

However, I know that making breakfast for a crowd- whether it's for a holiday, special occasion, or simply because you have a large family- can be a significant struggle. Sometimes, shortcuts must be taken, particularly when said family shows up unexpectedly. You want to be able to keep the gluten free integrity of your home, but they may be wary of "this whole no grain thing". 

Making a big show about breakfast (or breakfast for dinner) can also be a special treat to help kids who are a little more reluctant to sign on to the gluten free lifestyle. Sometimes, you have to get as close as you can to the "real thing" while they're adjusting to the transition. When your family is more established in a gluten and dairy free routine, it's easier to use recipes with fewer processed ingredients like this pumpkin pancakes recipe.

For when you need a shortcut, this King Arthur Flour Gluten Free Pancake Mix is definitely the way to go!  


If you are not cooking for a crowd, please make sure to follow the instructions for cutting this recipe in half! I made the mistake (yet again) of not reading the box where it says "add mix". Not "add 1/3 cup of mix". Not "add half of mix". They mean add the WHOLE MIX.


Whoops.

Well, I'm human. Like you, I'm not a chef. Kitchen mishaps happen. 


This made a MOUNTAIN of pancakes! A little much when you intend to make breakfast for two people, but perfect for a crowd!

I also am not the world's leading authority on flipping pancakes. Whoops.


Also please make note of where it says to let the mixture rest for 10 minutes to allow it to thicken, this is important! To make this dairy free, I subbed Smart Balance for butter and used coconut oil spray on the pan. I also used 2 cups of almond milk in place of the milk, also after not reading the box where it recommends an appropriate proportion of rice milk. 

As you can see, the pancakes fluffed up beautifully anyway, hooray! Box mixes can be wonderfully forgiving. Blueberries also make a wonderful addition.


I hope you enjoy these as much as we did!

Dr. Chelsea

When You Need A Quick Dessert

In case you haven't figured it out already, I have a monster sweet tooth. Of course, desserts are also crazy fun to make and write about!

However, the main reason so many desserts end up on the blog is because baked goods tend to be one of the most challenging things about gluten free living. I'm not encouraging you to eat a lot desserts, but I know we all need something for special occasions, especially for anyone with children, so I'm trying to make it easier for you.

I'm not crazy about things that come from a box, BUT I know sometimes parents don't have time to bake things from scratch. It's also back to school time and it doesn't always make sense to make a nice birthday cake from scratch like Laure's Chocolate Cake or my Angel Food Cake and then also make 24-36 cupcakes for the classroom. The lesser of the two evils of course is taking a shortcut with the snacks for school, particularly with concerns that a gluten free dessert might not appeal to small children. ***If you or your child don't do well with tapioca (a gluten mimic) or food additives such as guar gum, a box mix is not advised and you should stick with one of the recipes above or another gluten free cake recipe from scratch***

Good news everyone!

The big cake box companies are starting to make gluten free box mixes which can satisfy the need for a quick, inexpensive dessert fix. I wouldn't recommend using them often, but they can help in times of need. For Makena's birthday, we were serving a large, mixed crowd, so Laure and I decided to make two of the cakes from a gluten free box mix...

The cakes rose well, they were mildly dry (but frosting fixed it completely), and people were surprised when we told them they were gluten free! Definitely a success!


Sometimes you compromise and use a little bit of food coloring and candy decorations. Coloring is NOT recommended for children with ADHD or Autism! Not sure why? Read more here
We also made King Arthur Flour's Seven-Minute Frosting, which is a staple in Laure's kitchen for big events. I also think "7 minute" is misleading, a more honest title would be "10  Minute Boiled Frosting". It puffs up beautifully and is dairy free, so you will likely only need one batch for a 13x9 or two 8x8 or 9x9 cakes. That being said, for cupcakes or cakes with 3 or more layers or multiple colors, I would make a double batch. Doubling the recipe is also recommended for anyone who has trouble with crumb coating like I do. You can also make it a few days ahead if needed!

This would also be a great solution to try if you want to make a batch of cupcakes in advance, freeze them, and then send them to school 1-2 at a time so your child has a treat to enjoy when other parents send in desserts that aren't allergy friendly!

King Arthur Seven-Minute Frosting GF DF NF

Ingredients

1 1/2 cups sugar
1/3 cup cold water
2 large egg whites
1/4 teaspoon cream of tartar
pinch of salt
1 teaspoon vanilla extract (or 1/2tsp vanilla powder and 1/2tsp vanilla extract)

Instructions

1. In the top of a double boiler (not over heat), combine the sugar, water, egg whites, cream of tartar, and the pinch of salt.
2. Beat with an electric mixer set at low speed for 30 seconds, then set the pan over boiling water (the pan shouldn't touch the water). Beating at high speed, cook the frosting for about 7 minutes, or until it's stiff and glossy.
3. Remove it from the heat, add the vanilla, and beat an additional 2 minutes on high.
4. Use immediately to frost a sheet cake, tube cake, or layers. Or refrigerate in an airtight container and use as needed.
You may be able to add 1-2 drops of food coloring if needed or even better, puree a small amount of fruit such as raspberries, blueberries, or kiwi and mix in to add some color! If it thins the frosting too much, add a very small amount of cream of tartar or meringue powder.
Start with the ingredients away from the heat


Mix while heating over boiling water for 7 minutes


Starts to look like cake batter here


Stiff peaks let you know you're done!


I hope this serves you well!
Dr. Chelsea

Tuesday, August 9, 2016

Food Sensitivities and Why We Have Them #WellnessWednesday


Thanks for tuning back in for Wellness Wednesday!

How did you all do with your homework this week? Were you able to successfully add in a Paleo recipe to your meal plan? Was it easier than you expected? Did you run into any difficulties? Do you feel like you need more information? Did you enjoy it? Leave me some comments and I'll do my best to address them!

Just to recap, the basic premise of the Paleo diet is eliminating wheat, dairy, processed foods, and refined sugar, instead increasing your intake of fish, well-sourced meats, fruits and vegetables, nuts and seeds, and healthy oils like olive, coconut, and avocado.

Some of you may be thinking, what's the big deal? Grains make up a large portion of the food pyramid! The traditional food pyramid we think of actually dates back to 1992, and there has been much more research in the fields of food and nutrition sciences since then! The CDC currently recommends that grains should only make up one quarter of your plate, equal to or slightly less than your serving of vegetables. Many Americans see that and think “okay, then I'm going to eat a whole wheat bun with my dinner”.

Here's the problem: the way we harvest, store, and process wheat and other cereal grains has strayed away from traditional practices, and they have become inflammatory to many people. Some researchers believe it's because the grains develop small amounts of mold during processing, others insist it's because of genetic modification and too much cross-breeding. Regardless of the cause, we are seeing more and more studies asserting the inflammatory nature of these grains.

If we grossly oversimplify the issue, there are two very basic types of physical characteristics that we will see with food sensitivities. The first person tends to be very slender, has difficulty gaining weight, experiences hair loss, anemia, nervousness, and other symptoms similar to and possibly including an overactive thyroid. Why? Because when her gastrointestinal tract gets inflamed, it speeds up digestion so more inflammatory chemicals don't leak into the rest of the body, and doesn't allow her to absorb the vitamins and nutrients she needs. These cases can sometimes be harder to diagnose because individuals overall look “healthy” because they are slender and don't show as many markers on blood work. The second person tends to be overweight, has difficulty losing weight even with dieting and exercise, and has symptoms similar to and possibly including an underactive thyroid because her body slows down digestion and inflammation builds up. These individuals still may have trouble getting help because their symptoms are written off as being part of obesity, fibromyalgia, or another disorder.

Individuals in both groups tend to experience acne, depression, anxiety, irritability, fatigue, sleep disturbances, joint pain, acid reflux, stomach ulcers, abdominal swelling, vomiting, gas, and diarrhea or constipation or fluctuate between both.

If you're sitting there saying “Wait, this sounds like me, why haven't I been diagnosed with a food sensitivity?” it's because there is very little testing that properly identifies food sensitivities. In my last video, I touched briefly on food sensitivities and how they differ from traditional food allergies, so if you're lost right now, go back and watch that again if you need a refresher. As a whole, medical research tends to focus on food allergies, anaphylaxis reactions, because they are more immediately life threatening and better understood than food sensitivities. On top of that, as we have noted before, inflammatory reactions, which are the symptoms of food sensitivities, are diverse and look very different in each individual person.

I'm not asking you to take my word for it, do an experiment for yourself. Keep following along with Wellness Wednesday and see how you feel. Unless you jump right into strict paleo, it might take a few weeks to notice a difference, be patient. 

This week I want you to incorporate 4 paleo meals into your meal plan! You can do it! It's going to be great! 

Have a sparkling day everyone!
Dr. Chelsea

Need recipe suggestions? Try one of these Simple Paleo recipes!

*Any health topics that are covered should not be considered medical advice. If you have specific questions please contact your doctor or make an appointment with us. You should check with your doctor before making radical dietary changes, particularly if you have heart disease, diabetes, cancer, or are pregnant or nursing.*


Monday, August 8, 2016

Simple Paleo Recipes

There are probably thousands of Paleo recipes on the internet, but if you need a starting block, you have come to the right place. Here are a few simple Paleo recipes with short ingredient lists to get you started. Once you get the hang of it, you will be able to modify your own family favorites as well!

Let me know which ones you fall in love with and if you find any that are even better!

Enjoy!
Dr. Chelsea

Breakfast
Any egg dish with a side of meat and veggies. Omelettes are easy. So are fried eggs with chicken sausage and baby spinach or sauteed peppers.

Twice Baked Breakfast Sweet Potatoes Highly recommend you cook the potatoes the night before!


Flourless Banana Pancakes I make variations of this regularly, they are my favorite!


Beef
Mini Pepper "Nachos" I would actually add some more toppings to this like tomatoes, beans, olives, and jalapeños


Chicken


Seafood


Thursday, June 30, 2016

Ratatouille (the dish, not the Disney movie)

My favorite thing about summer at the clinic is lunchtime. In the interest of eating well, decreasing stress, and solidifying our relationships, we cook lunch in teams. Every team has a day, so we are constantly eating fabulous, unique dishes and we each only have to cook once per week. Most of the time we also use this as an excuse to try new recipes. It's just another aspect of the wonderful culture that Dr. Frank and Laure have built here at the Frank Clinic!


Dr. Holstein and I make lunch on Thursdays and we always try to come up with something sumptuous but simple. A few of the recipes we have tried out are crockpot barbecue chicken, spaghetti squash with vegan chili, and of course the angel food cake I made for her birthday found its way in there as well.


Like many Disneygenarians out there, I have wanted to try to make Ratatouille since seeing the film. It's naturally paleo and also vegan and is great when you want to feed a whole group of people. This recipe comes from The Comfort of Cooking.


LAYERED RATATOUILLE

YIELD: Makes 4-6 servings

INGREDIENTS:

1/2 onion, finely chopped *You won't find onion in any of my recipes, I left this out*
2 garlic cloves, very thinly sliced
1 cup tomato puree
¼ tsp. oregano
¼ tsp. crushed red pepper flakes
2 tablespoons olive oil, divided
1 small eggplant, such as Italian or Chinese *I recommend actually getting a small one, the large ones present an issue when you start to layer everything. In fact, try to be sure that all of your veggies are approximately the same diameter*
1 zucchini
1 yellow squash
1 long red bell pepper
Few sprigs fresh thyme *We were out so I used rosemary. Basil would also be fabulous*
Salt and pepper
Parchment paper


Look at all of that color!

DIRECTIONS:

Preheat oven to 375 degrees F.

Pour tomato puree into bottom of an oval baking dish, approximately 10 inches across the long way. Drop the sliced garlic cloves and chopped onion into the sauce, stir in oregano, crushed red pepper flakes, one tablespoon of the olive oil, and season the sauce generously with salt and pepper.

Trim the ends off the eggplant, zucchini and yellow squash. Trim the top of the red pepper and remove the core.

On a mandoline, adjustable-blade slicer or with a very sharp knife, cut the eggplant, zucchini, yellow squash and red pepper into very thin slices, approximately 1/16-inch thick.
*Or if you don't have fancy kitchen tools, do the best you can with a knife. My slices were anywhere between 1/16 and 3/8 of an inch thick*

Atop the tomato sauce, arrange slices of prepared vegetables concentrically from the outer edge to the inside of the baking dish, overlapping so just a smidgen of each flat surface is visible, alternating vegetables. You may have a handful leftover that do not fit.

Drizzle the remaining tablespoon olive oil over the vegetables and season them generously with salt and pepper. Remove the leaves from the thyme sprigs with your fingertips, running them down the stem. Sprinkle the fresh thyme over the dish.

Cover dish with a piece of parchment paper cut to fit inside.

Bake for approximately 45 to 55 minutes, until vegetables have released their liquid and are clearly cooked, but with some structure left so they are not totally limp. They should not be brown at the edges, and you should see that the tomato sauce is bubbling up around them.


If you don't want to get too fancy with it, you can actually just bake the vegetables in a large dish, what some people call "Country Ratatouille". Either way, it's colorful and delicious and is an excellent way to incorporate several different kinds of vegetables. I arranged mine in two different patterns, since cooking at the office required a double batch.


Bon Appetit!
Dr. Chelsea

Sunday, June 26, 2016

Lemon Berry Angel Food Layer Cake GF DF SF

Angel food cake is one of my favorite things to bake gluten free! One of the biggest complaints about gluten free baking is that the product is too heavy; angel food solves that with the whipped egg whites, adding air and height and rising as beautifully as a full-gluten cake. Not to mention that it is naturally dairy free and absolutely delicious! This is the quintessential summer dessert and you can make it so many different ways!

This recipe comes from the King Arthur Flour website. I would recommend preparing it a day ahead if you can so everything chills properly; the angel food cake requires a minimum of 2 hours of cooling time and coconut cream always holds together better when it has had time to chill. If you're going to create all of the components today, go right now and stick a metal or glass bowl in your freezer for the cream and put the cans of coconut milk in the fridge. Also read all of the instructions first, I missed the note about having to sift the flour with the sugar and cornstarch and had to do it on the fly.

Lemon Berry Angel Food Layer Cake GF DF SF

King Arthur Angel Food Cake
  • 3/4 cup King Arthur Gluten-Free Multi-Purpose Flour or ¾ cup + 2 tablespoons brown rice flour blend*
  • 3/4 cup Baker's Special Sugar** or superfine sugar
  • 1/4 cup cornstarch
  • 1 1/2 cups egg whites (10 to 11 large eggs, separated, yolks discarded or reserved for another use)
  • 1/4 teaspoon salt
  • 1 ½ teaspoons cream of tartar
  • 2 teaspoons vanilla extract
  • 1/4 teaspoon almond extract or Fiori di Sicilia, optional 
  • 3/4 cup + 2 tablespoons Baker's Special Sugar** or superfine sugar
  • **Can you substitute regular granulated sugar? Yes; it'll take much longer for the egg whites to attain their require volume, and the cake's texture won't be as fine.

Instructions

  1. Preheat the oven to 350°F and place the oven rack in its lowest position.
  1. Whisk together and then sift the flour, cornstarch, and 3/4 cup sugar. Set aside.
  1. In a large, clean (grease-free) mixing bowl, beat together the egg whites, salt, and cream of tartar until foamy.
  2. Add the flavorings. Gradually increase the speed of the mixer and continue beating until the egg whites have increased in volume, and thickened.
  3. Gradually beat in the 3/4 cup + 2 tablespoons sugar, a bit at a time, until the meringue holds soft peaks.
  4. Gently fold in the sifted flour/sugar blend ¼ cup at a time, just until incorporated.
  5. Spoon the batter into an ungreased 10" round angel food pan. Gently tap the pan on the counter to settle the batter and remove any large air bubbles.
  6. Bake the cake until it's a deep golden brown, and the top springs back when pressed lightly, about 45 minutes.
  7. Remove the cake from the oven and invert the pan onto the neck of a heatproof bottle or funnel, to suspend the cake upside down as it sets and cools, about 2 hours.
  8. Remove the cake from the pan by running a thin spatula or knife around the edges of the pan, and turning the cake out onto a plate.
  9. Cut the cake with a serrated knife or angel food cake comb. If it's difficult to cut, wet the knife and wipe it clean between slices.
  10. Serve with whipped cream and fruit. Wrap any leftovers airtight, and store at room temperature.
  11. Yield: one 10" cake, about 12 to 16 servings.
  12. *Make your own blend
    Many of our gluten-free recipes use our King Arthur Gluten-Free Multi-Purpose Flour, which includes 
    ingredients that reduce the grittiness sometimes found in gluten-free baked goods. Our flour also increases the shelf life of your treats, keeping them fresh longer. 

  13. The following make-at-home blend, featuring stabilized brown rice flour, works pretty well when 
    substituted; and it tastes better than a blend using regular brown rice flour. 

  14. Whisk together 6 cups (28 1/2 ounces) King Arthur stabilized brown rice flour; 2 cups (10 3/4 ounces)
     potato starch; and 1 cup (4 ounces) tapioca flour or tapioca starch. Store airtight at room temperature. 
  15. Note: You can substitute white rice flour for the brown rice flour if you like; it'll make your baked goods grittier (unless you manage to find a finely ground version).
Additional Ingredients:
12 oz. raspberry jam
Fruit of choice
1 package organic blueberries
1 package organic raspberries
4 cans of full fat coconut milk (I like Thai Kitchen Organic)
1/4 cup of sugar
6 teaspoons lemon extract


This is not a paid advertisement, simply a celebration because I have always been a huge fan of King Arthur products. I also happen to feel that trying to combine
8 different kinds of gluten free flours to get the right consistency is a pain, so any opportunity to use a great blend is highly cherished! I substituted the 2 tsp  vanilla extract and 1/4 tsp almond for 1 tsp vanillaand 1 1/4 tsp lemon extract to give this a bright flavor.

Like many of you, I'm a home cook with limited space, so I don't just keep superfine sugar in my 
cabinet, and I wasn't about to go buy some just for this recipe. The solution? Throwing cane sugar
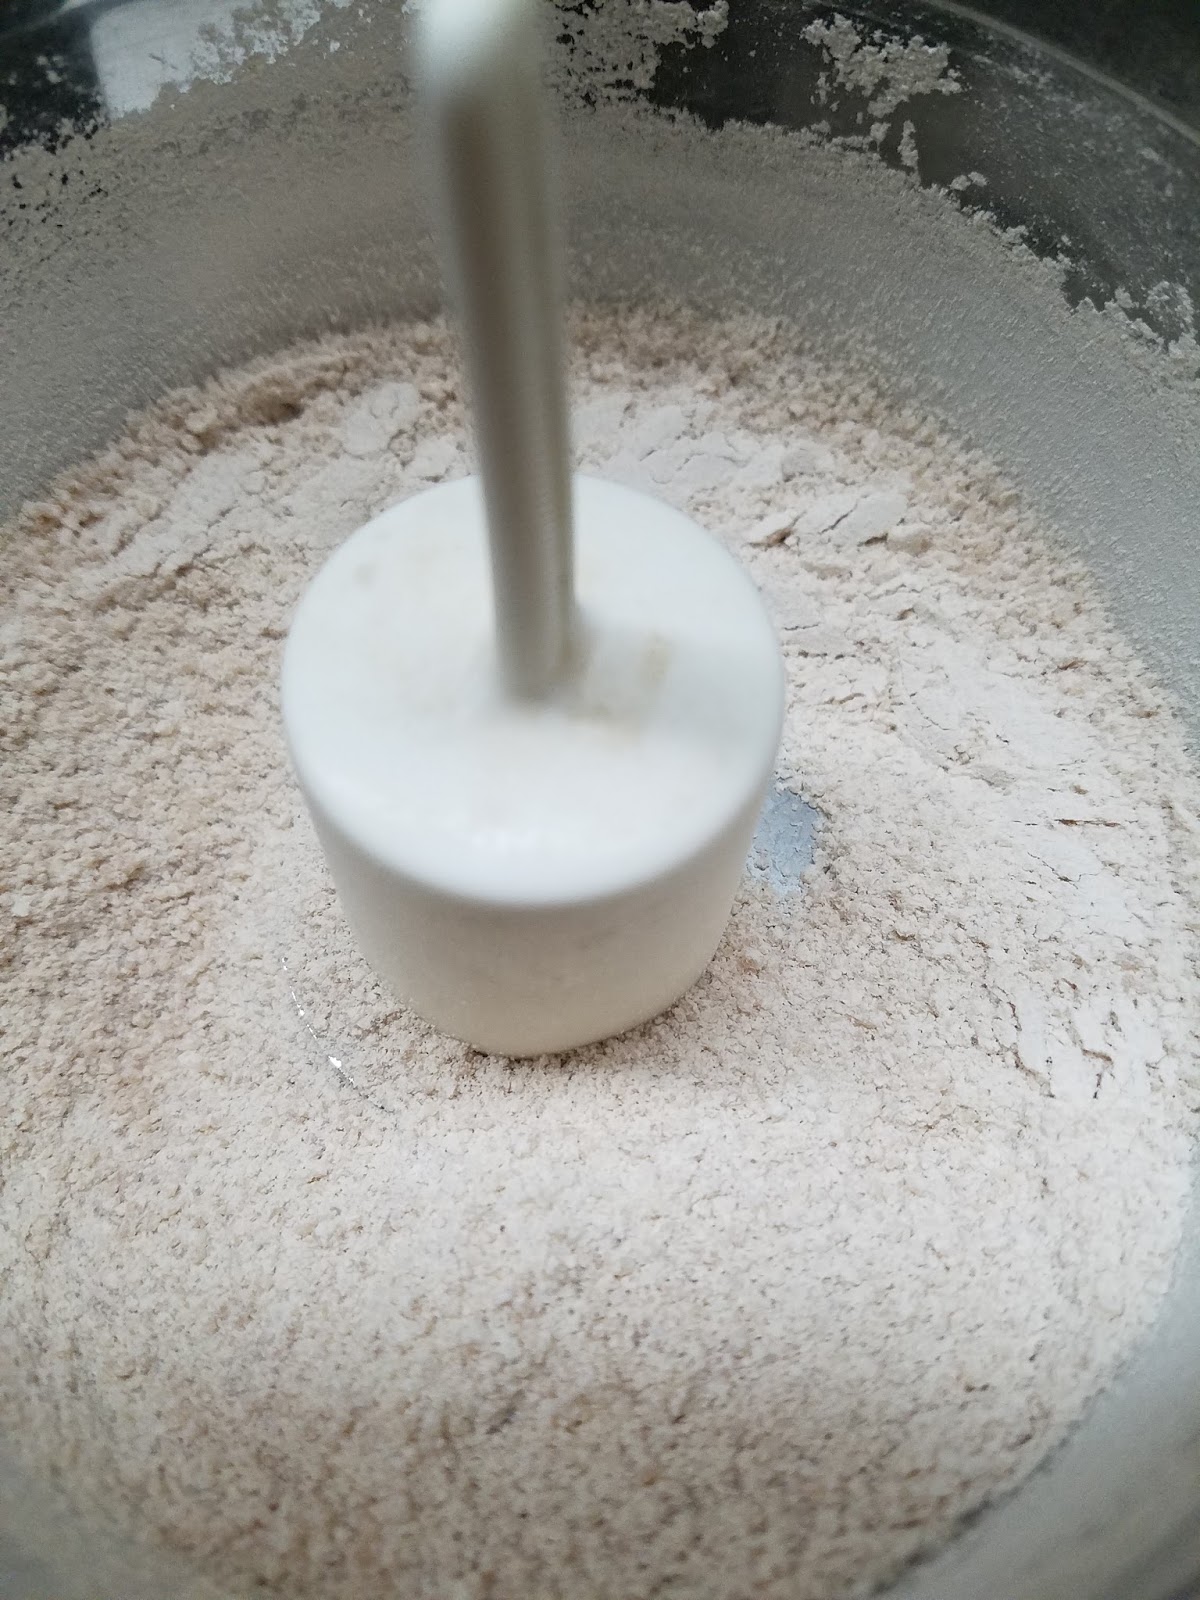
in the food processor! 


I recommend processing it in small amounts to make sure 
it grinds evenly and when you go to sift the ingredients 
together, this doesn't happen.

When it is ground properly and sifted, it will be lovely 
and fine, and actually resemble cake flour 
like this.


It will be very tempting to stop beating the egg whites
at this point, keep going a little bit longer!


This is as close as I have ever been able to get to perfect "soft peaks" in a meringue

I panicked a bit when it said to suspend the cake upside down on a funnel; exactly which way
is upside down for an angel food cake? So I settled for placing it on a wire rack and extending
the cooling time a bit. See how it rises so beautifully? You would never know it's gluten free!


Since I had time, this project got separated into a 2-day process in my kitchen, but you can 
easily construct the coconut whipped cream while the cake is baking or cooling (it's quick
and easy if you chilled the bowl ahead of time). For this cake, I omitted the usual vanilla
and cinnamon and instead added 4 teaspoons of lemon extract. I multiplied my usual recipe
by 4 because of the size of the cake, so you may only need 1-2, just taste it as you go and
adjust accordingly.
Whipped Coconut Cream is a staple in my house because it is quick, easy, and decadent!


Knowing this dessert could spend some time sitting out, I opted for layering in a trifle dish.
Coconut cream melts just like standard whipped cream, so you can't leave it out for long. 
If you cut the cake into fewer layers (2-3) and can freeze the construction before serving, you
may be able to make a layer cake like this one. For this cake, cut the cooled angel food into 4-5
sections horizontally. Place the first piece of cake on the bottom of the dish, then layer in coconut
cream, jam, and berries, followed by the next layer of cake.


Get creative with the decoration on top!


Happy Birthday Dr. Holstein!


Hope you enjoy this as much as we did!

Bon Appetit,
Dr. Chelsea

Post note: I made another variety for Laure's birthday too! She doesn't do well with gum additives like guar gum that are in coconut milk, so I improvised a little on the cream. Yes, I have tried using the gum-free coconut milk, no it does not set up properly. However, I found that the So Delicious coconut milk "yogurt" is gum free!

Instead of using raspberry jam and my coconut cream, I used lemon curd (I LOVE Stonewall Kitchen) and what I can only in good consciousness refer to as blueberry "cream" sauce (see below). In addition, I used 2 Tablespoons of lemon extract with 1/4 Tablespoon of almond extract.

Blueberry "Cream" Sauce (recipe in progress)
Ingredients:
4 cups blueberries
1 large banana
1 cup unsweet coconut milk "yogurt"
1 cup coconut palm sugar (or regular sugar or honey)
6 drops lemon essential oil or 2 Tablespoons of lemon juice (to taste)
2 cups Kerry Gold butter or dairy-free butter

Instructions:
1. Add all sauce ingredients to blender.
2. Puree until smooth.
3. Alternate layers of angel food cake with lemon curd, blueberries, and blueberry sauce.
4. Garnish with berries and lemon slices.
5. Enjoy immediately or refrigerate until serving.


If I was going to do this again, I would simmer the berries first and skim off the skins to improve the texture of the sauce. You could also easily skip the banana and/or butter and use more "yogurt", or if you're fine with gums go ahead and blend the berries into my coconut cream. Let me know if you create a variation you like!